Cute right? Well let me tell you... it was a pain in the BUTT! I mean, it had its desired effect. Those who didn't assume it was just a bad ballerina costume, thought it was really funny. But most of the time I had people coming up to me after about 30 minutes saying, "Ohhhh... I get it. You're one of those bath scrubby things," Very astute, Sir. I did have a lot of fun with it though, so I'm going to teach you how to turn yourself into a "bath scrubby thing" too.
I can't reasonably take credit for this costume idea, so I have included a link to the tutorial I used at the end of this post.
Step One: Gather Supplies
- scissors
- some type of measuring device
- 1" elastic band (white or black)
- 25 - 35 yards of tulle (any color)
- yarn/string/ribbon (you just want something that is thin and matches your tulle)
- 1.5 yards of white rope
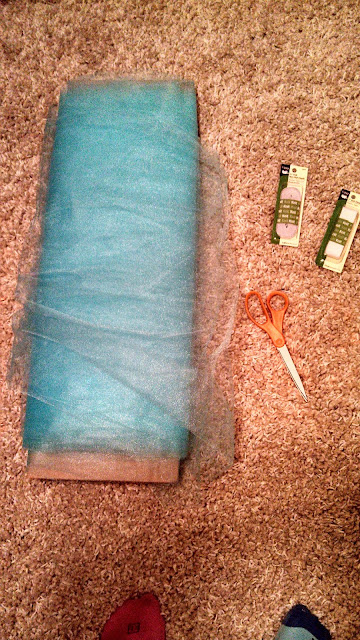
WARNING: This step is, by far, the most important step in the entire process. This is where I made my initial mistakes. When purchasing your tulle, keep in mind that you're buying a shload of fabric, and even though $1.99/yard doesn't seem like a ton of money at the time, it will after you've spent $50+ on what was supposed to be a cheap costume. So I suggest finding the cutest color for the cheapest price. Like really, it's not worth it unless you can find something for less than a dollar/yard.
 |
| Yes... I'm aware that my socks do not match. |
I decided to go with blue tulle, and bought 25 yards upon my first visit to JoAnn's Fabric. What I didn't take into account was the fact that I am considerably larger than the woman who made the original tutorial. I ended going back to JoAnn's Fabric and purchasing 10 more yards of the fluffy blue material, and got some pretty judgmental looks from the ladies at the cutting counter. They probably thought I was making meth or something.
Step Two: Make Waist and Bust Bands
Take your 1" elastic and make two bands. The first will sit right about the level you wear your pants, maybe a little higher if you low-ride, and the second will fit just under your bust, so measure accordingly. You can sew the two bands if you want, but I'm lazy so I just tied them to create a loop.
Step Three: Make Giant Fluffy Bow Ties
Measure and cut about 2 yards of your tulle (it doesn't have to be exact).
Fold the fabric once hotdog style (if you're tulle came on a spool like mine did, it will already be folded this way), then fold it into thirds. It should look something like this:
Take the folded fabric and cinch it in the middle to create the bundle.
Cut about 5" of the string/yarn, and tie around the middle of the fabric to keep it together. Make sure you leave a few inches of string left, because you'll use what's left to connect the bundles to the bands you've made.
Depending on how much tulle you purchased, you'll have between 8 and 16 bundles.
Step Four: Attach Bundles and Rope Handle to Waist/Bust Bands
Now it's time to attach the tulle to the bands you made in the first step.
(If you've left enough ends on the string you used to cinch the fabric, you can just tie each of the bundles to the elastic with that. If not, just cut a little more string and tie the elastic to the middle of the bundle.)
When attaching them to the elastic, space each of the bundles equidistance apart.
Each band should have between 4 and 8 bundles attached to it.
Next, make a loop out of the white rope and attach it to the bust band. You can either let it dangle, or you can wear it around your neck like a halter top.
Step Five: Rock It!
Put on each of the bands and fluff the bundles to get the desired loofah effect.
You might be wondering what to wear under your loofah. I just wore a blue shirt and blue running shorts, but I've seen people wear short strapless dresses, and spanks and a tank top. It's up to you and how scandalous you're feeling ;-)
Now you're ready to confuse and amuse a lot of people at your next Halloween party!
Love,
Taylor
P.S. Here's the link to the original tutorial:
http://www.busythoughts.com/diy-loofah-halloween-costume


No comments:
Post a Comment